

(Easy version for 4-8 years)
Make a flower for your mum, your favourite teacher, or anyone you would like to show your appreciation for!
This tutorial consists of 2 parts – the flower and the leaves
Materials to prepare:
- Colourful Origami papers (for flowers and stalk)
- Green A5 Paper x 1 (for leaves)
- Tape
- Bouquet wrapping paper
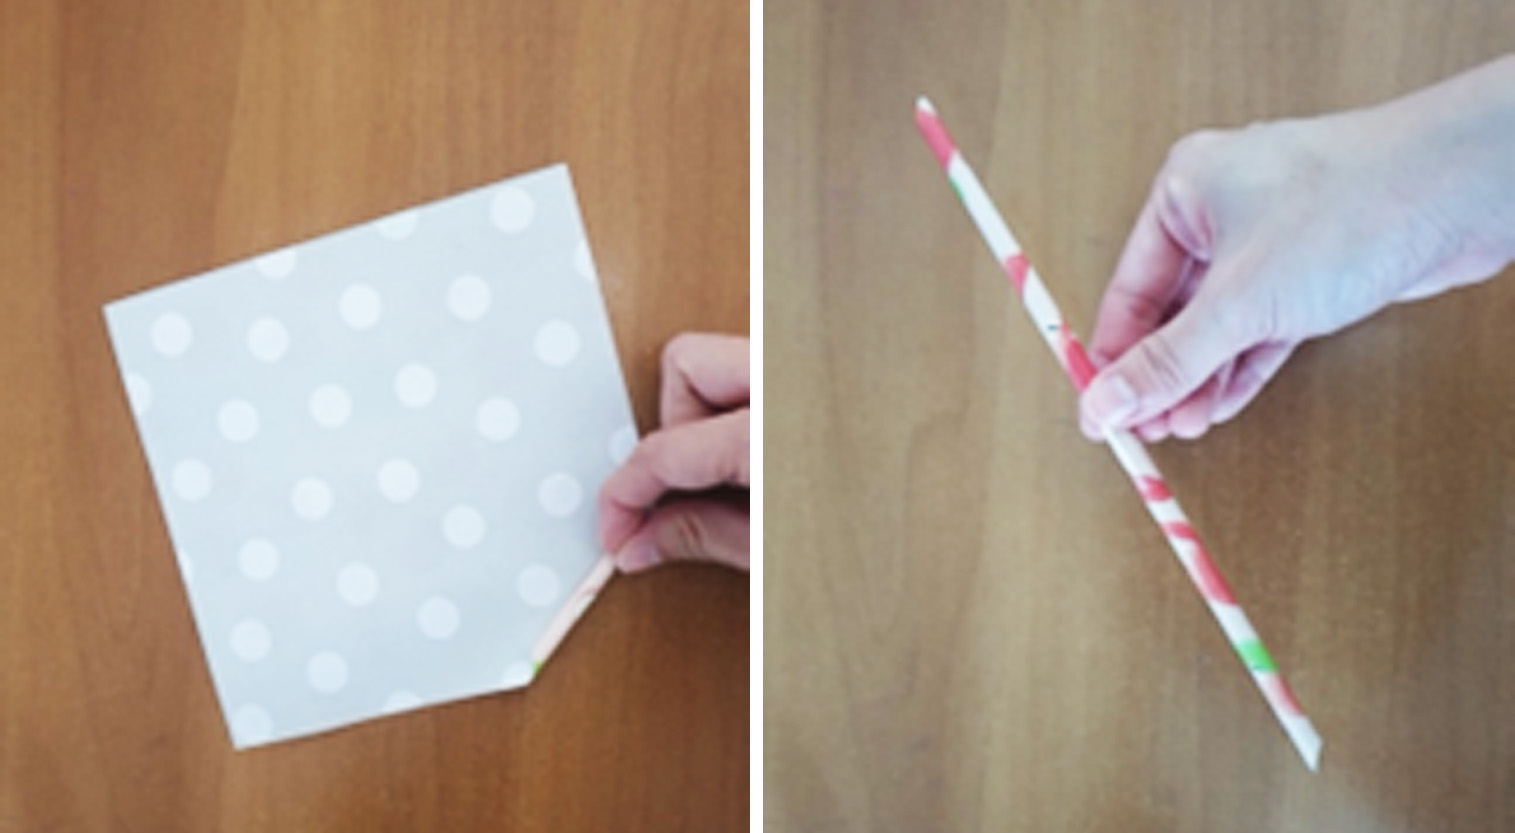
Stalk
- Roll a piece of origami paper to make the stalk of the rose. I prefer to roll it diagonally from one corner, I find that it is easier and makes the stalk longer.
- Secure with tape, and the first step is done!
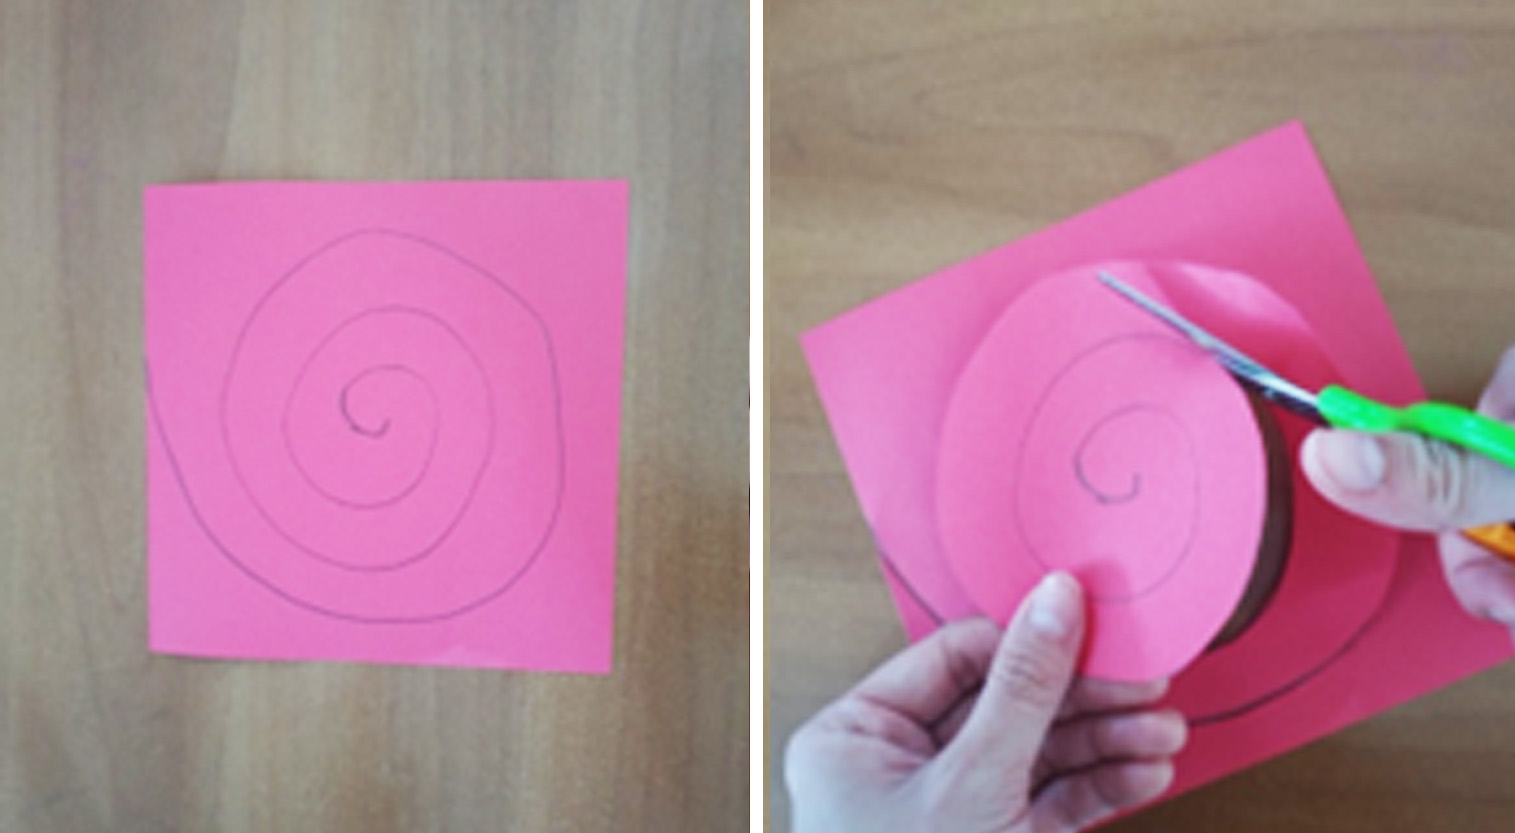
Flower
1. Take a piece of origami paper in the colour you prefer. Draw a spiral from the center of the paper. Cut along the line.
2. Attach the sharp end of the spiral to the stalk using a tape.
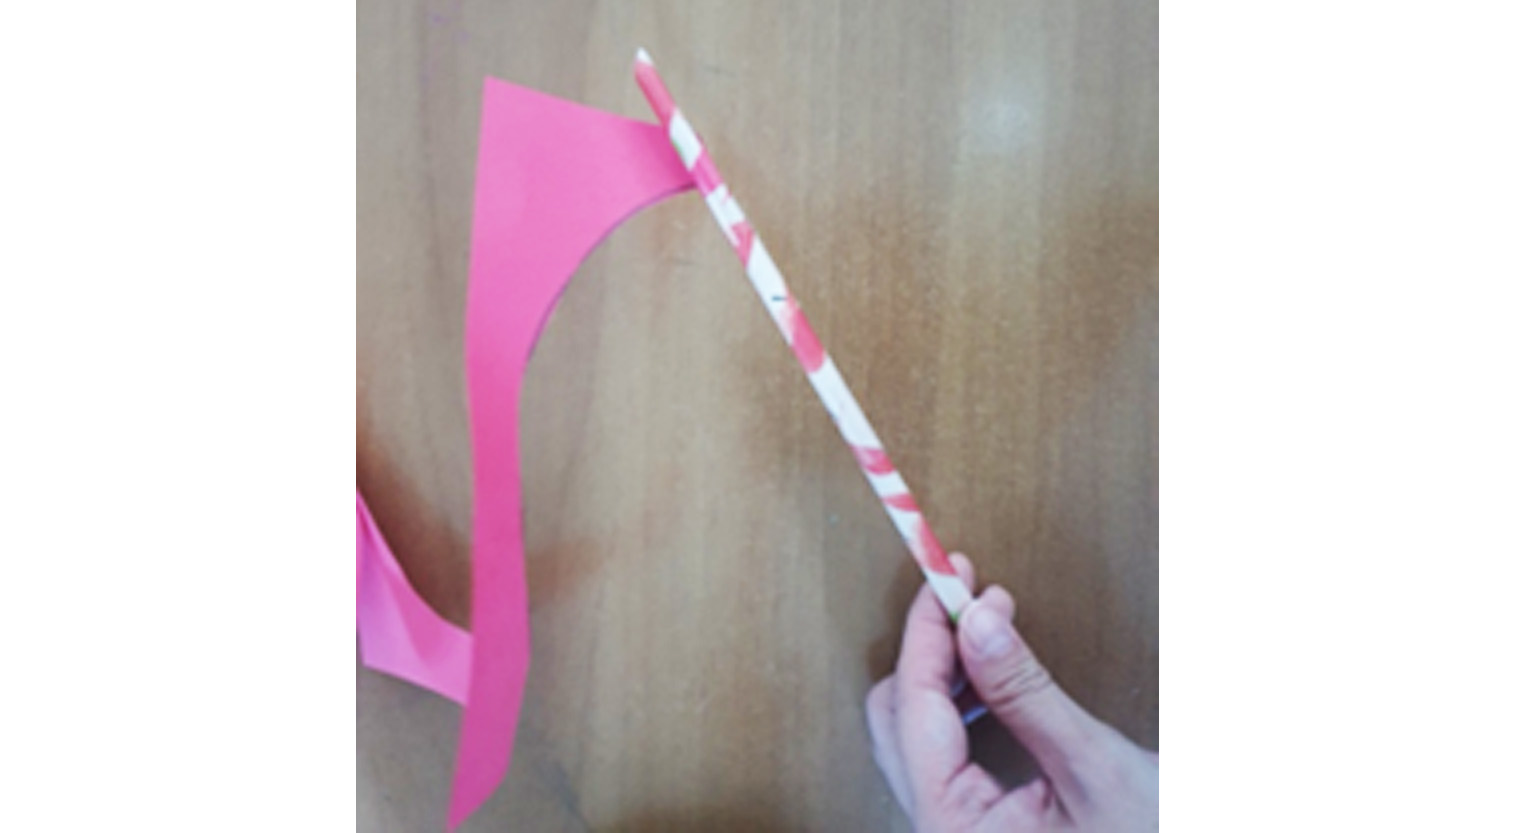
3. Roll the spiral along the flower stalk. Make sure the flower stays at the top. You may attach some tapes along the way.
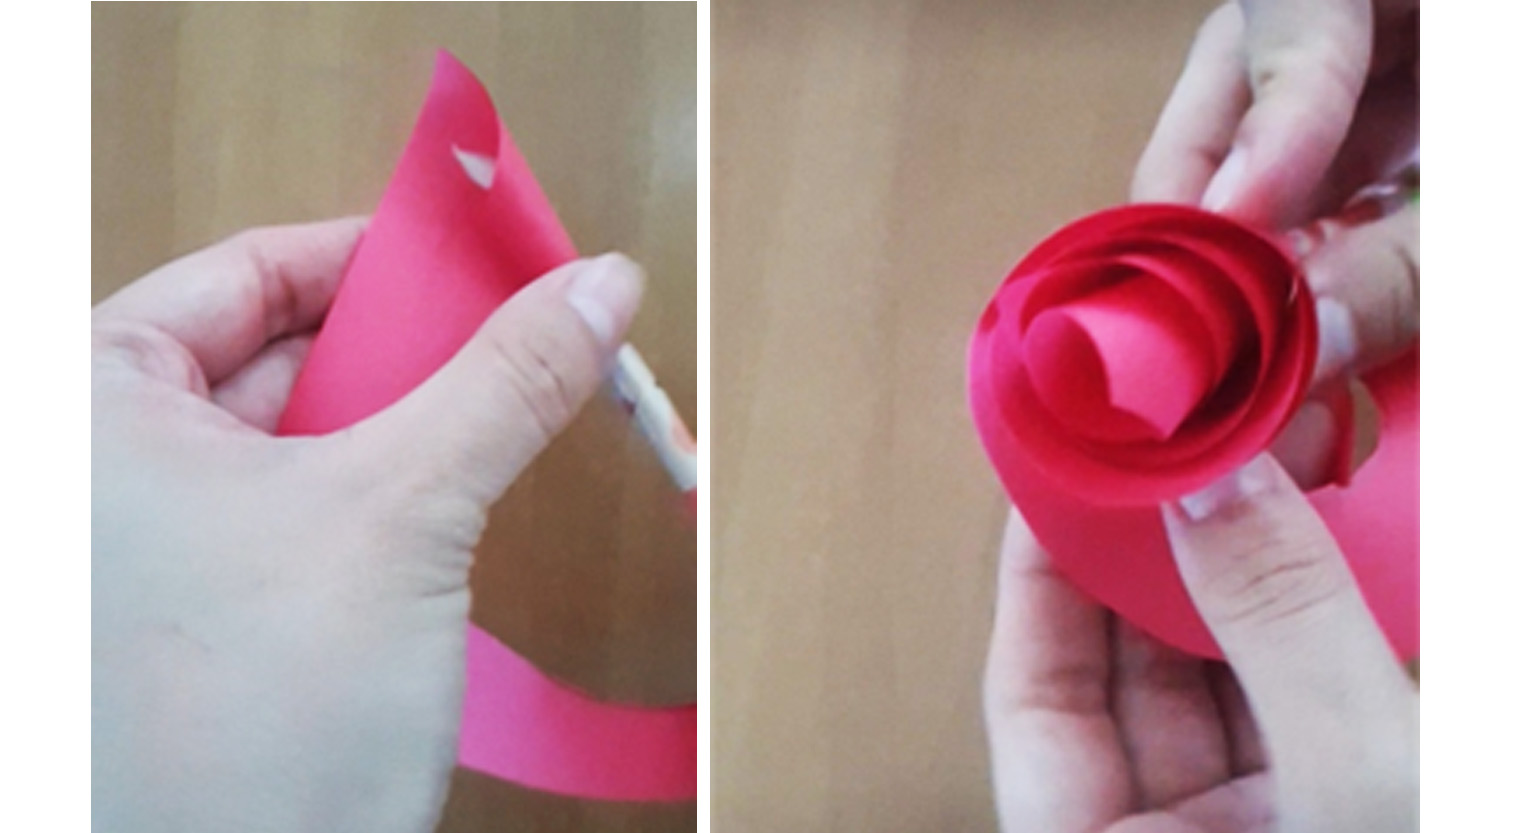
4. Secure the end to the stalk with tap and the first origami rose is completed!

Leaves
1. Tape 2 sides of the paper together
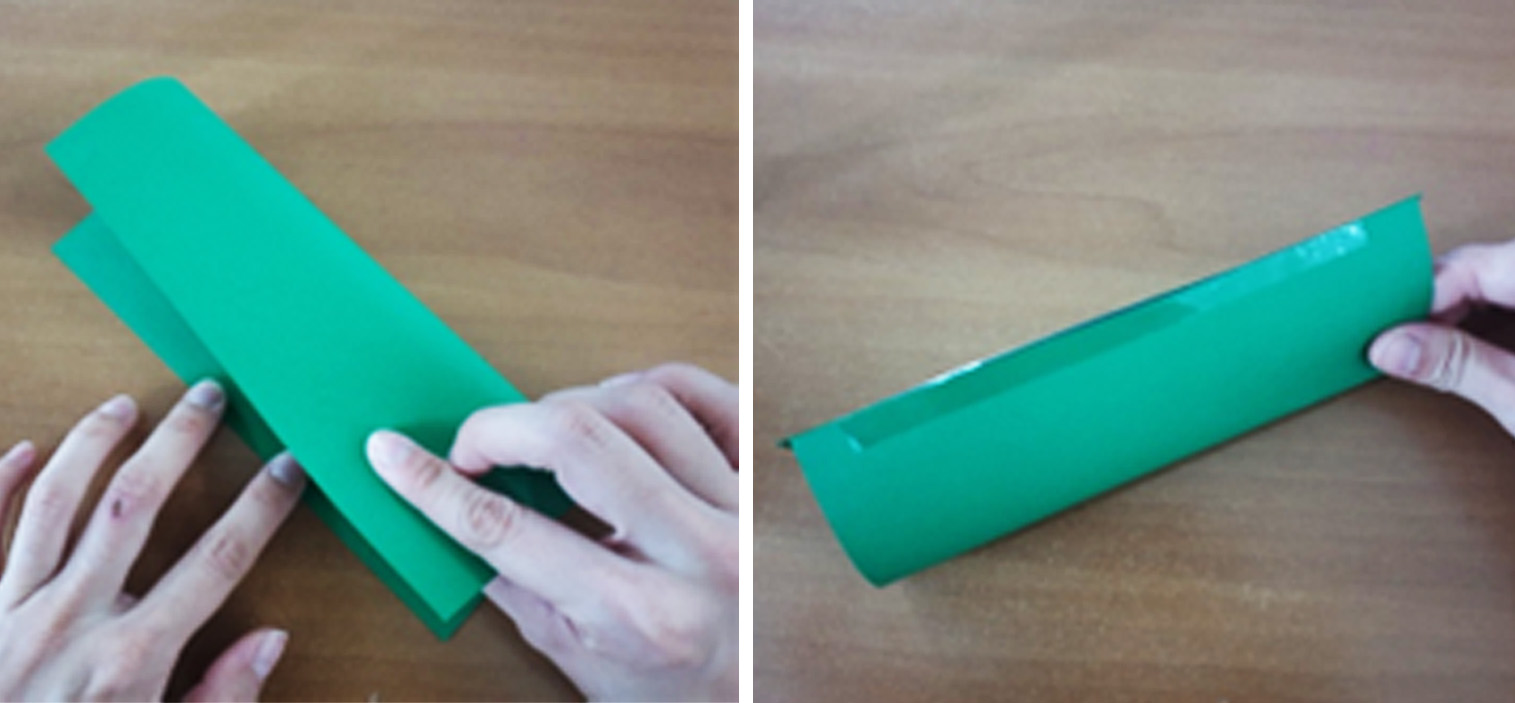
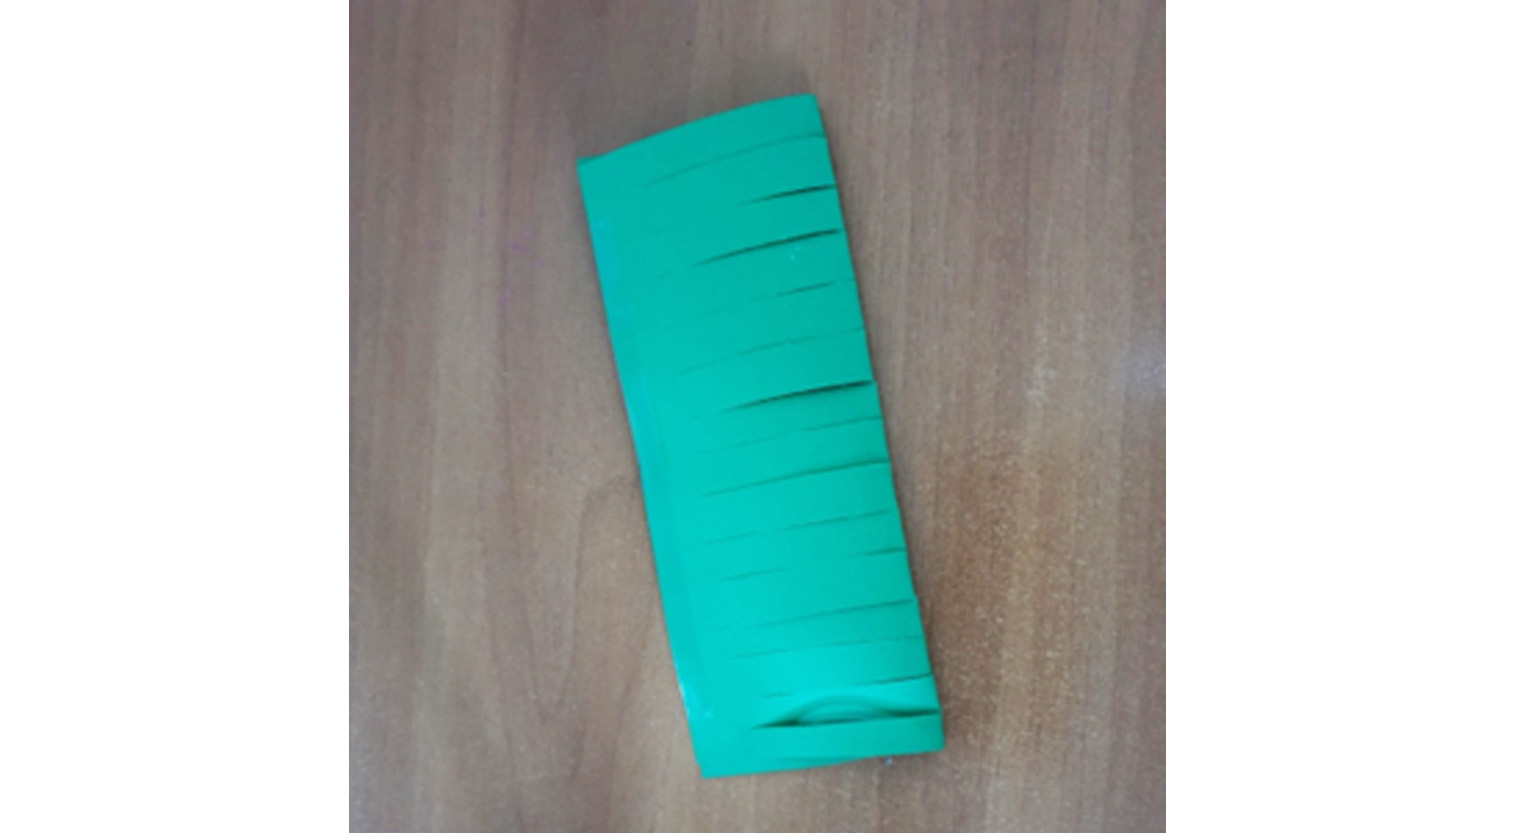
2. Cut the non-taped side as shown in the photo below.
3. Wrap the green paper around your roses. You can wrap up to 3 roses to make a bouquet.
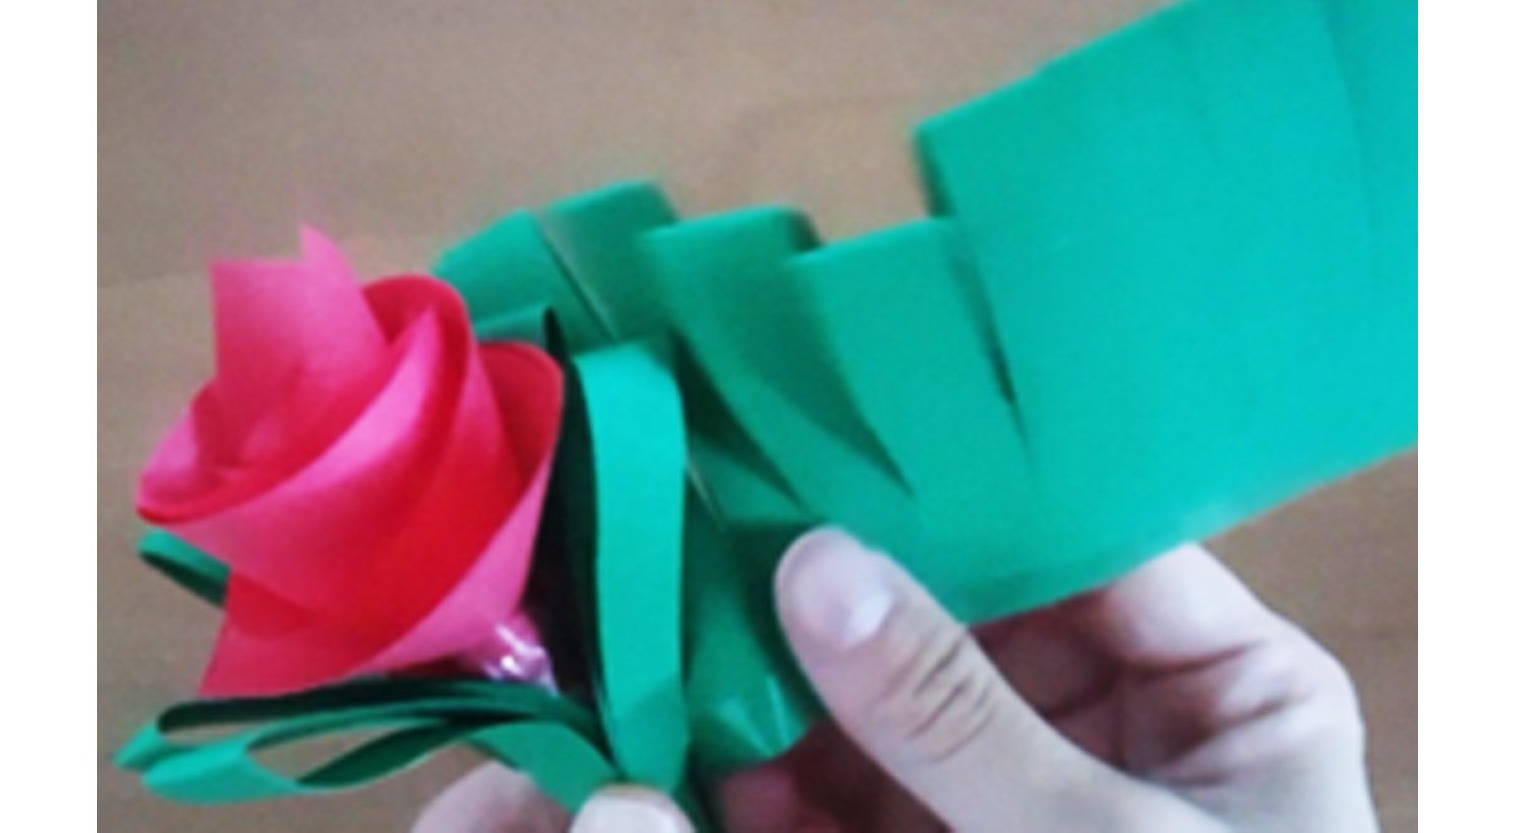
4. Secure the leaves with tape.
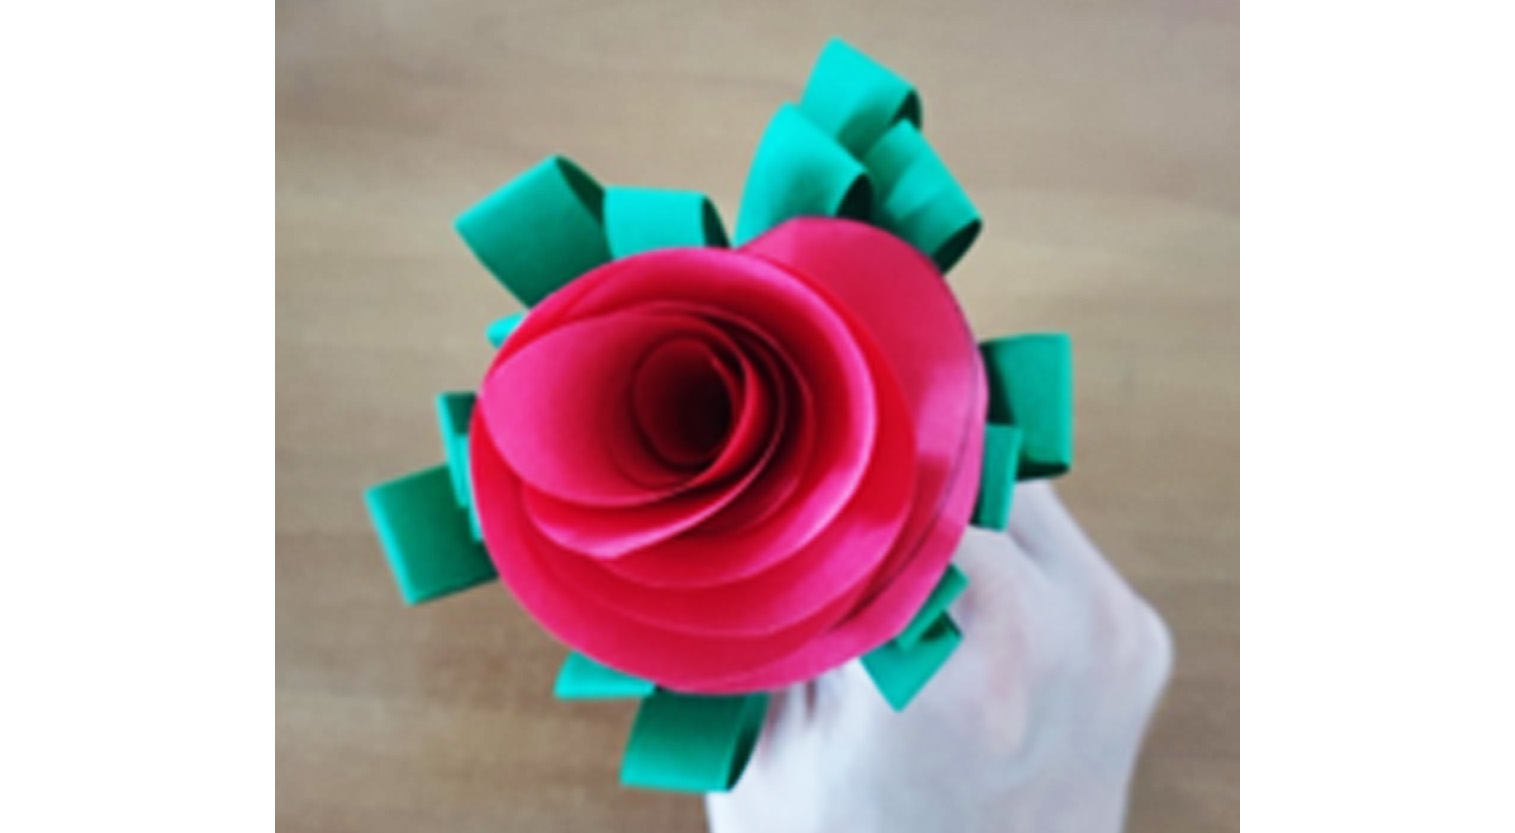
5. Optional step - Cut a few strips of the leaves and trim the edges. Curl them out. There you go, your rose bouquet is complete!

Like this craft? Share with your friends! Tag us on Instagram @ducksncrafts to show us your completed work.


.jpeg?w=1712&h=1493)
.jpeg?w=752&h=658)
